Today I’m going to help you learn how to use a Blind Hem Stitch while we make a shower curtain! It’s actually pretty easy!
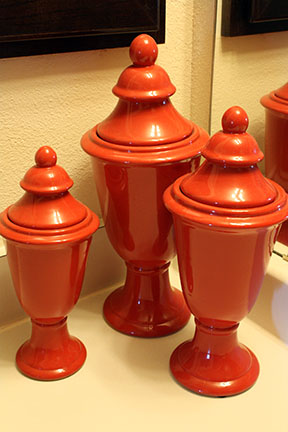
Our second bathroom has been a little sad since we moved. It’s had nothing done to it and is not up to my colorful standard! Definitely time for a makeover. I knew that I wanted to work off of these coral vases I already had, and I wanted a travel/world theme.
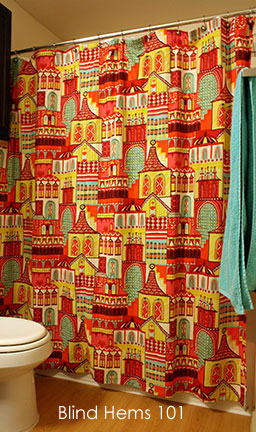
After searching for months I found the perfect fabric to make the shower curtain with! This wonderful Alexander Henry print, Zhivago, from Fabric Worm.
Isn’t it delicious? Teal, Yellow, Red, Coral, and Aqua gorgeousness!
Let’s get started! (There’s also a bonus tutorial below! How to make a blind hem stitch!)
Fabric Requirements:
4 1/2 – 5 yards of fabric
Most shower curtains are about 72″ L x 72″ W. (If you have a non-standard tub, just double check that this size will work! If not, adjust accordingly.) I bought 5 yards. This was a bit more than I needed but I wanted to be safe because my fabric has such a large vertical repeat at 24″!
To determine what size piece we’ll need to start with we’ll add 2 1/2″ on the top and bottom ( 5″ total), and 1/2″ on either side (1″ total) to get our starting piece. We’d like a piece that’s 77″ L x 73″ W to get started with. Standard fabric widths for quilting weight cotton are around 44″ so we’ll need to piece two lengths of fabric together to get our piece that’s 77″ x 73″.
Cut your yardage in half, then piece it together, matching up the pattern as best as you can and pin, pin, pin! If you have a walking foot, use this while sewing a 1/2″ seam down the edge. This will help you keep the pattern matched up better! Once you’ve pieced the two panels together, trim your piece to 77″ L x 73″W.
We’ll finish the sides first. Fold and press 1/4″ in, then fold over once more.
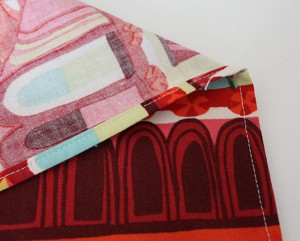
Stitch down the fold. (If you have a serger, serge the edges, then fold, and fold again.)
For the top, fold and press 1 1/4″ down, then fold over once more and stitch down using an edge stitch.
Here’s where you get a little bonus tutorial: The Blind Hem Stitch! I promise, it’s easy!
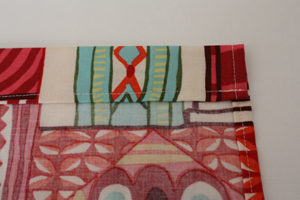
For the bottom edge, fold and press 1 1/4″, then fold over once more. This is EXACTLY what you did along the top of the curtain.
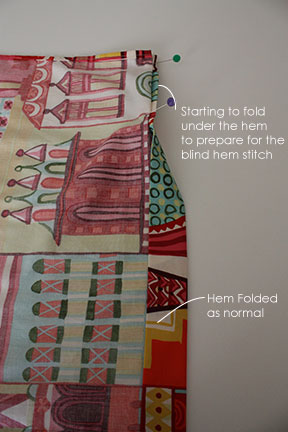
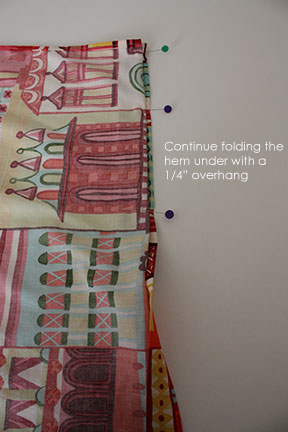
Now for the difference. We’ll correctly pin the hem first. To do this, take your pressed hem and fold it under, with about 1/4″ hanging off the edge.
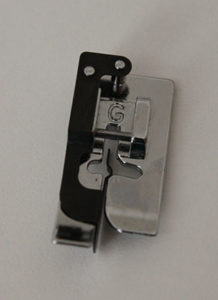
Once you’ve finished pinning we’re ready to sew! To get the machine ready you’ll need your blind hem foot. Mine looks like this:
Your foot should look very similar.
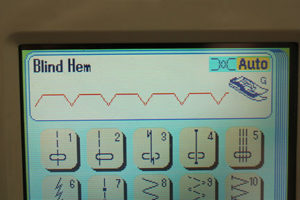
You’ll also need a blind hem stitch on your sewing machine. It should look very similar to the photo above.
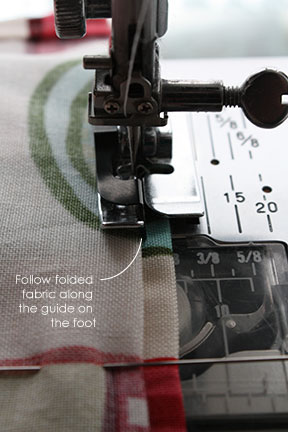
Place your pinned hem underneath your presser foot as shown above.
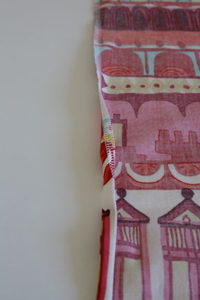
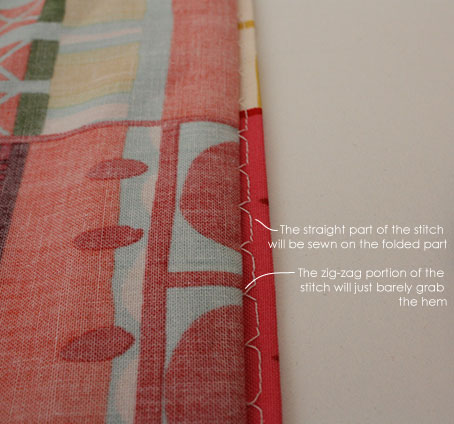
The stitching will look like this. Most of the straight stitch will be on the little 1/4″ flap you left. The zig-zag portion of the stitch will catch the other fold. This is the part that makes the blind hem.
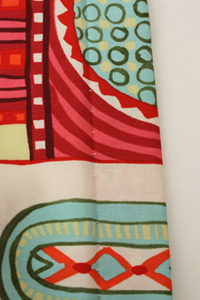
Once the stitching is done, unfold where you pinned. On the front you’ll see small straight stitches. That’s your blind hem! Press this out for a nice professional look.
Last step is to make holes to put the shower curtain rings through! Use your buttonhole foot on your machine to make buttonholes for the shower curtain rings. I measured every 6 3/8″ along the top and made small 3/4″ long buttonholes at each mark. (Start your measuring 1″ in from each side. If you don’t feel like measuring take your shower curtain liner and use the holes in it to mark where your holes should be made in the shower curtain.)
*Tip: If you’re not friends yet with your buttonhole foot you can insert small grommets instead.
Press, hang, and admire your handiwork!
I still have some more plans for this bathroom: Chevron rug, travel related vinyl quote to go on the mirror, framed B&W prints from our Europe trip and at least one room is done!


Thanks for this tutorial! I never knew the term for that type of hem. How handy!
Erin