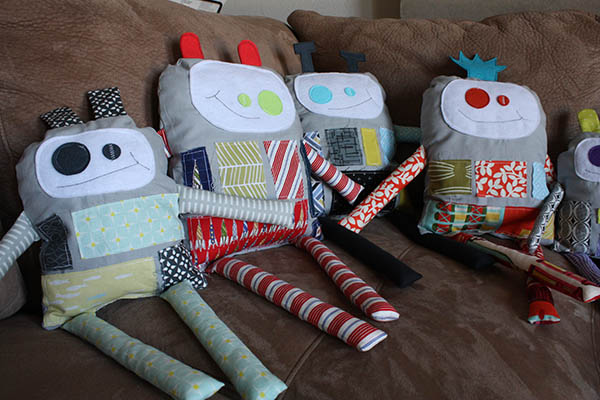
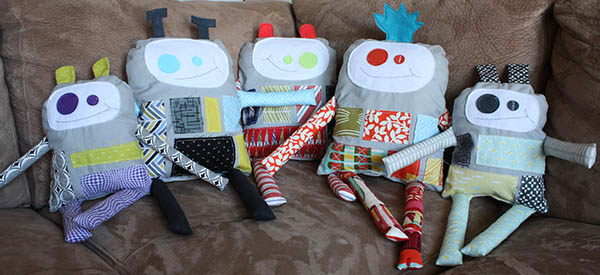
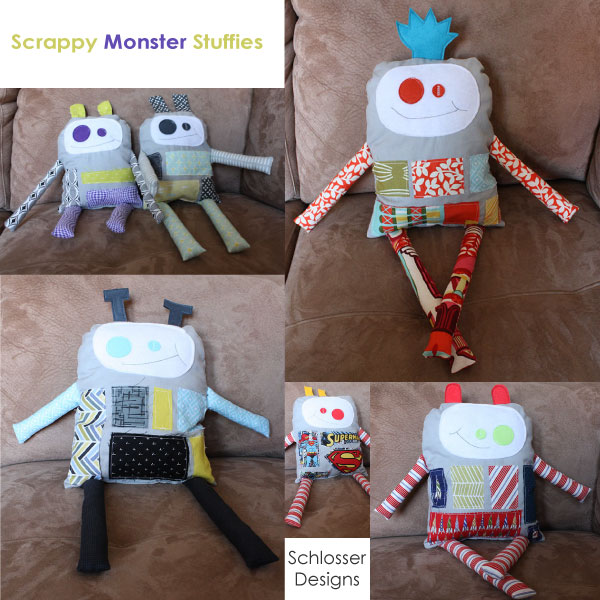
Oh goodness I had such a fun time making these!!
Why did I make these? My good friend Emily had a scare two years ago with one of her sons. In her words:
“TWO YEARS AGO today, a real life nightmare began which started with a simple trip to the urgent care, then a frantic ambulance ride to the local Hospital, and then a promise of a LifeFlight to Primary Children’s Medical Center, only to have bad weather ruin the flying conditions, so another long and tedious ambulance ride… When it was all said and done, we were all standing around Josh, laying in a hospital bed at the ICU, and the outlook was grim.”
His lung was collapsed and completely non-functioning. While there, he was scared (I don’t blame him, I would be too!) and received a stuffed gorilla that brought him comfort and hope. To celebrate his 2 year anniversary of his release from the hospital he decided he wanted to collect stuffed animals to donate to the hospital for the other children there receiving care.
I knew I wanted to contribute to his cause, I started sketching, and from that the Scrappy Monster Stuffies were born!
I’m sharing the pattern here so if anyone would like to make stuffed animals for a local charity, shelter, etc. they may do so. (Please respect that this pattern is for personal use only! Thanks!)
A few things to keep in mind:
-Check with the charity to see if they have any special requirements about stuffing, etc.
-Remember that these will be going to kids so buttons and other hard parts, however tightly sewn on, are a no-no
-These are a great, simple project that even children 8+ can sew up!!
Here are the pattern pieces:
Small Monster Body (Approximately 7″ W x 9″ H)
Large Monster Body (Approximately 9″ W x 11″H)
Face Pieces (Both Small and Large)
Ear/Hair/Eye Pieces (Used for both. Can print at different scales for various sizes.)
I used one yard of fabric and was able to get enough bodies to complete 4 Large Monsters and 2 Small Monsters.
Fabric and Felt Scraps
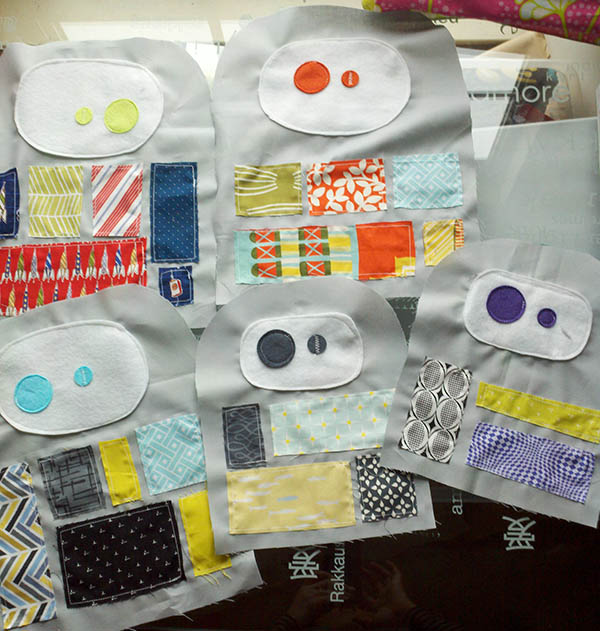
Once I cut out the body pieces I simply started cutting rectangles from my scrap bin in coordinating colors and laid them out on the bottom part of the body pieces.
When I had a layout I liked, I stitched around the edge of each to hold in place.
Add the face, eyes, and mouth. (I used my triple stretch stitch for the mouth. It’s a straight stitch that looks like it has 3 lines for each stitch instead of 1. This makes it a little thicker and easier to see.)
After the main body of each was done I dug back through my scrap bin and found parts for hair, ears, arms, and legs.
For the arms and legs I simply cut strips of fabric 2″ wide and however long I liked. (Remember, these are scrappy, so it’s ok if they don’t all match from one monster to another!) Use a 1/4″ seam, stitch strips right sides together, turn right side out, and press. Stuff with polyester stuffing and set aside.
Once you have all the other body parts, pin with them all facing in. Add the back piece, right side down. You’ll be creating a little sandwich with the front, all the parts, facing in, and the back. Pin and sew around the entire body, securing the arms, legs, ears, etc. as you go. Leave a 3″-4″ opening along the bottom between the two leg pieces.
Turn right sides out, press, stuff, and close the opening with a small edgestitch.
That’s it, you’re done!
Happy Sewing!
(This project is included in Today’s Creative Blog Link-Up.)


Thanks for the tutorial – too cute!
These are perfect to size down to make for Operation Shoebox/Samaritan’s Purse for little boys(girls would love too!). Thanks for the pattern as I am working on items for the next Christmas drive.
Love these scrappy robots! They’re so cute! Thankyou for sharing! I featured this in my blog: http://www.plushiepatterns.com/scrappy-monsters-softie/