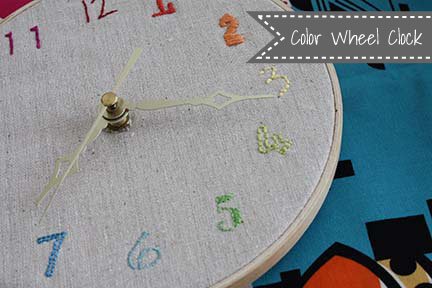
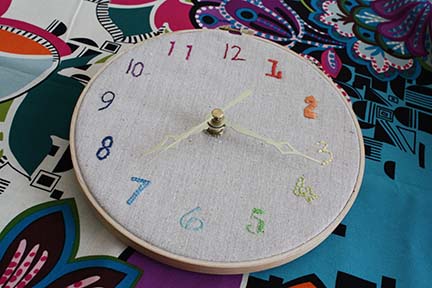
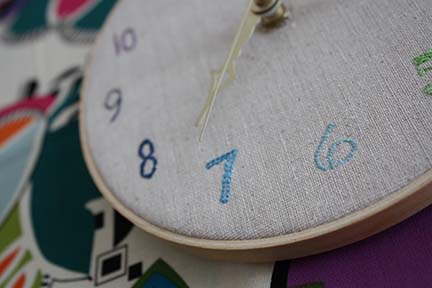
This is a fun color wheel clock I made for my mom’s sewing room. It’s a great intro into hand embroidery too if you want to give it a try!
You’ll need:
7″ Embroidery Hoop
1 Clock Kit
1/4 yard linen (or other fabric) I used linen because I liked the texture, but a plain cotton would work fine too.
1/4 yard extra firm fusible interfacing
Embroidery needle
Various colors embroidery floss
Fabric transfer pen or pencil (My favorite is the FriXion Gel Pen. Draw on your fabric, then erase it with the heat of the iron. As with any fabric marking tool, test in an inconspicuous area first!)
Clock Number Pattern (Download the PDF here for free.)
Ready? Let’s begin:
Start off by printing the number pattern. Make sure that it’s printed at 100% and is not scaling so that it’s too large or too small. The little red box in the center should measure exactly 1″.
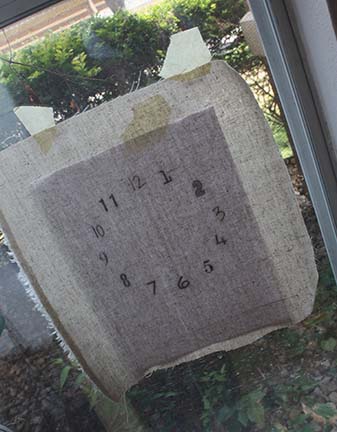
Place the pattern underneath your linen and use your fabric transfer pen/pencil to trace the numbers onto your fabric. Also mark the center. The center is where the cross hairs are in the red box. We’ll use this marking later to determine where our clock hands will be. (I had to tape mine to the window to make my own light box so tracing was easier.)
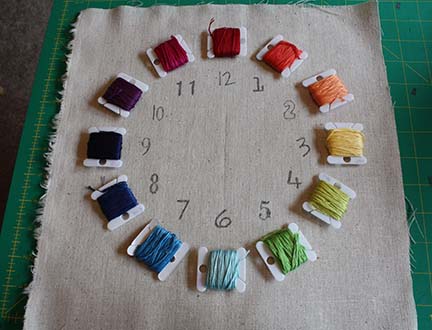
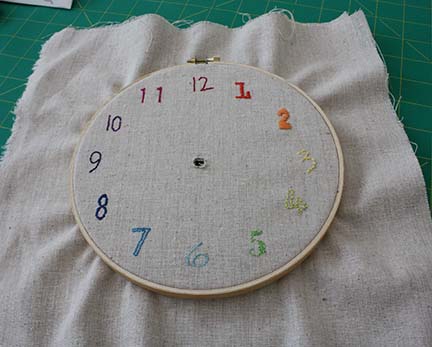
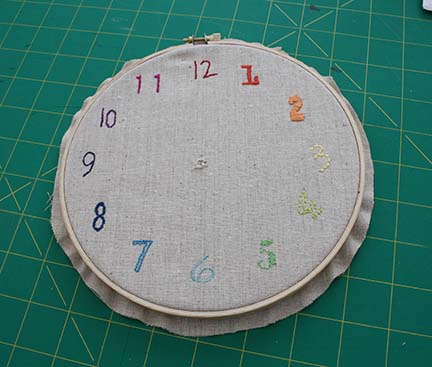
After tracing you’re ready to stitch away. Layout your floss colors to make sure you like how it looks before you start. Use your embroidery hoop and fill in the numbers with the floss however you’d like. I used a variety of stitches (including the backstitch and satin stitch.) Try this website if you need a refresher on your stitches. On the left column is a directory to a large variety of embroidery stitches.
When you’re finished punch a small hole in the center where the cross hairs are. Remove it from the hoop and press your clock front to get out any wrinkles left from the embroidery hoop.
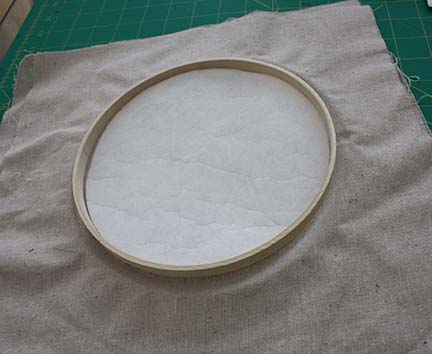
Cut out a 7″ circle from the interfacing, center this over the back of your embroidery and iron in place. Poke a hole in the center of the interfacing circle.
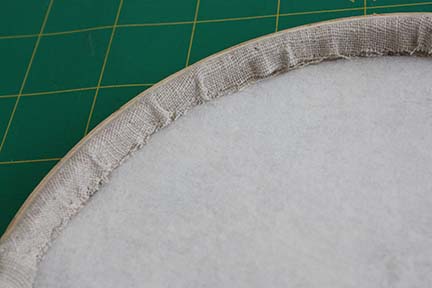
Place your clock front into your embroidery hoop and tighten. Trim your extra fabric off . (Leave about 1″ all the way around.)
Tuck the extra onto the back and glue into place.
Insert your clock kit.
I hope you enjoy this!
Happy Sewing,
Erin
This is super cool. THanks for sharing!
Now THAT is a great project!
SO glad you enjoyed it! Thanks for the kind comments!
So beautiful and creative! I’m pinning this on Pinterest now . . . and hope to make it soon too :)