This weekend I made a little needle notebook. Now I have a cute way to store all my hand sewing needles and I just love it!
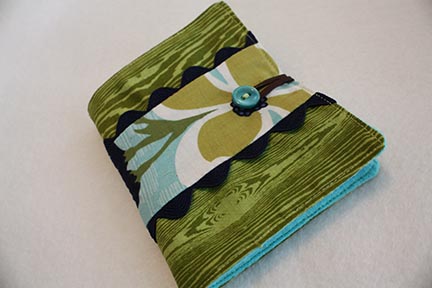
This project all started with a problem:
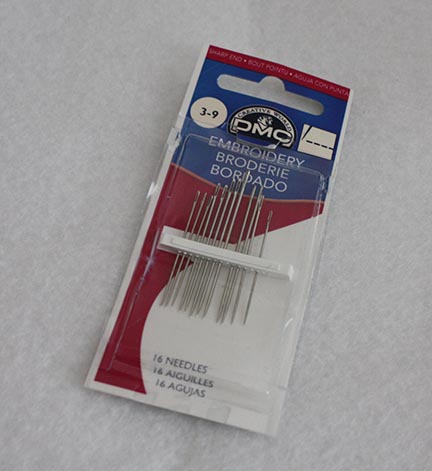
I had a whole bunch of these all over the place. Most of the packages were half broken and not holding the needles very well anymore. I was finding needles all over the place and was getting a little tired of it. My solution was a cute needle notebook.
For this project you’ll need:
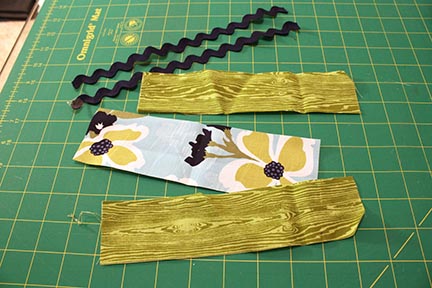
2 different coordinating fabrics (We don’t need big pieces so if you have some scraps lying around that should work just fine.)
18″ of coordinating Ric-Rac
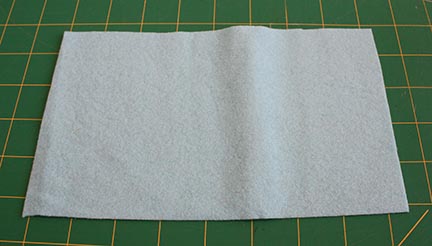
1 color coordinating felt (I used some nice soft bamboo felt from CityCraft. If you’ve never felt bamboo felt you’re in for a treat!)
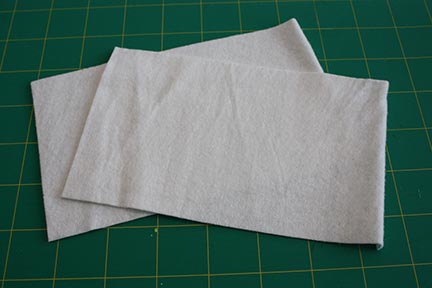
1 sheet of white felt (these will be cut into our “pages”)
3″ leather lace or ribbon and one coordinating button
Step 1: Cut out all your pieces.
Cut 2: 8 1/2″ x 2″ strips of fabric (These will be your outer band fabric.)
Cut 1: 8 1/2″ x 2 1/2″ strip of fabric (This will be your center band fabric.)
Cut 2: 9″ pieces of ric-rac
Cut 1: 5″ x 8 1/2″ piece of coordinating felt (This will be for the inside of your book.)
Cut 2: 4″ x 7″ pieces of white felt (These will be our pages to store the needles on.)
Cut 1: 3″ piece of leather lace or coordinating ribbon (This is for your button loop.)
**Use 1/4″ seams for this project unless otherwise noted.
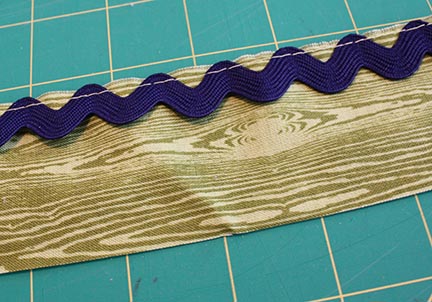
Step 2: Attach Ric Rac
Line up one ric rac piece on the edge of one outer band fabric piece. Using a scant 1/4″ basting stitch, baste in place. Repeat for other ric rac piece and outer band fabric.
Step 3: Piece together Outside
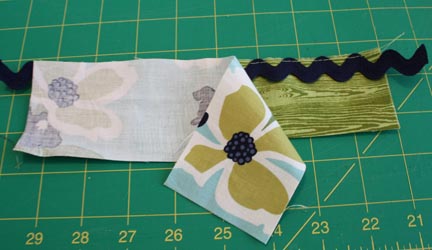
Using a 3/8″ seam, stitch center band to outer band piece where ric rac is attached.
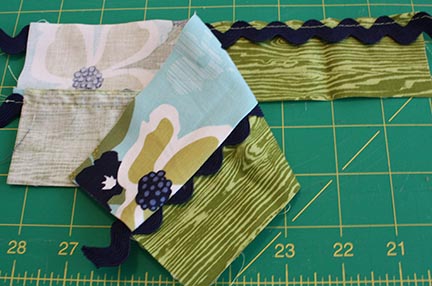
Sew other outer band piece to remaining side of center piece.

Lay flat with right sides up and press.
Step 4: Complete Outside of Book
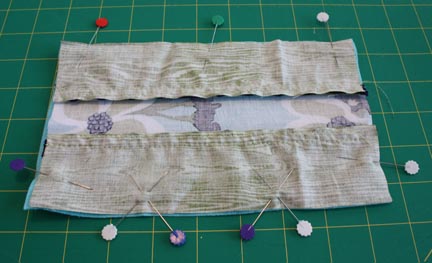
Lay the coordinating felt piece down and place your outer piece, right side down on top of your felt piece. Pin around the edges, making sure to double pin a space to remind you to leave an opening. Mine is about 3″ along the bottom edge. (Don’t forget to add your looped leather lace piece to one side at this step like I forgot to do!)
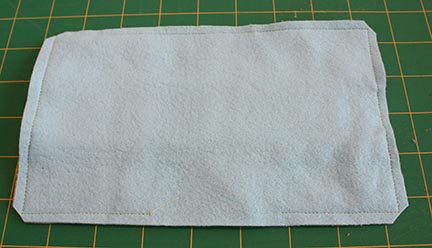
Stitch around the edge 1/4″ being sure to leave your opening. Trim your corners when you’re done stitching.
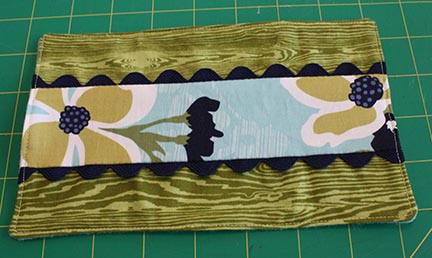
Turn right sides out, poke out corners, and topstitch around the edge 1/8″ to keep it flat and close the hole you left open.
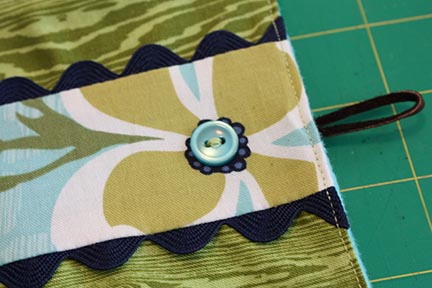
Sew on the button about 1″ from the edge of the front of your book. (If you forgot like me to add in the loop when you stitched around the piece for the first time you can add the leather lace now to the back inside of your book.)
Step 5: Sew your pages in.
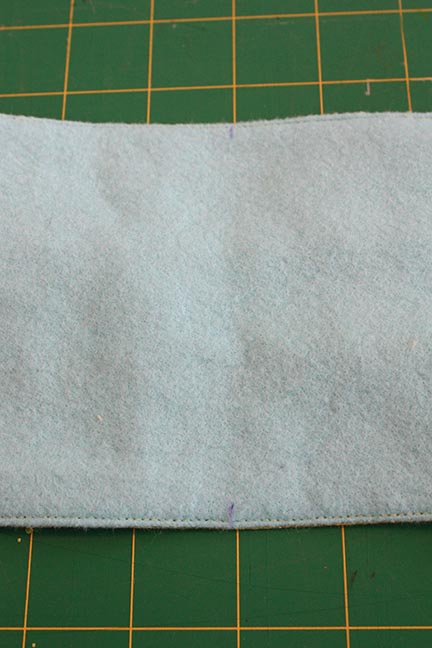
With a disappearing ink pen mark lines down the center of the inside of your book,
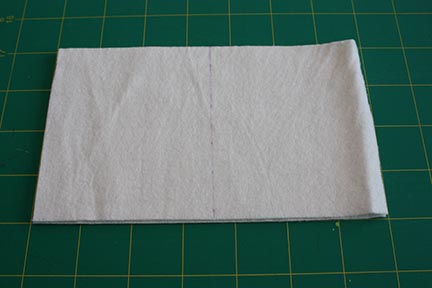
and the center of your white felt pages.
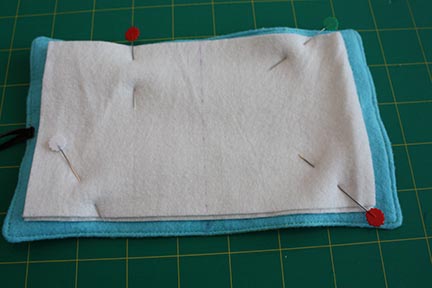
Place the pages in the book, lining up the lines so they are centered. Pin in place. (Notice how my top page is slightly higher than my other page? Be sure you pin it like this as the felt will shift slightly when sewing down the center. If you shift if up and starting 1/8″ up, it will line up when you sew it.)

See how it lines up nicely now?
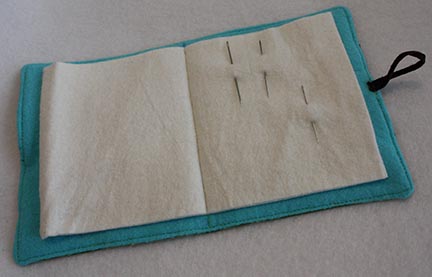
Now add your needles and you’re ready to go!

Happy Crafting!
Erin
If you make one I’d love to see it! You can drop it in the Flickr Group or Post it on the Facebook Page!
Eventually I need to make myself one of these! hugs xo
Great idea!! I am adding it to my must make list. :-)
Found this via Pinterest….planning on making one for my mom as a belated Mother’s Day gift! She does a lot of cross-stitching and other needlecrafts so she’ll definitely appreciate this. Thanks for the tutorial!
Thanks for the inspiration! I had one already, a tiny, flimsy little thing that I tried my hand at when I first got back into sewing. But your tutorial was a great help, and I just finished mine. I take my small cross-stitch projects to work to pass the extra time and now I have a great place for my needles. : )