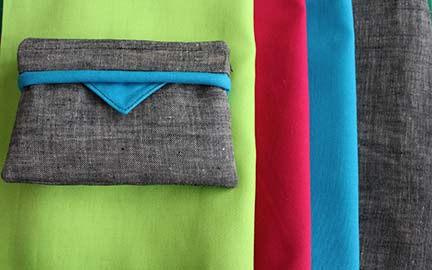
Neon is all the rage this spring and I love it! I’m a color lover and was so excited to pair some fun neon brights with a charcoal colored linen for this project! You don’t need any fancy hardware for the pouch closure either. We’ll use a little bit of measuring tape to make the top closure!
Ready to get started?
You’ll need the following:
Fabric scraps (You’ll need less than a 1/4 yard of fabric for the whole pouch!)
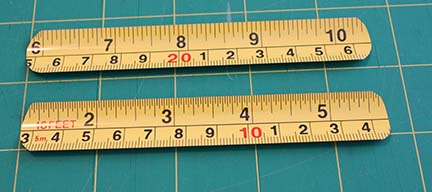
12″ of a 3/4″ wide measuring tape
12″ of 6/32″ cotton cording
Coordinating thread
Cut the following pieces:
Main Fabric (This was my charcoal colored linen.)
4- 3″ x 5 1/2″ rectangles for top band and bottom band
2- 1 1/2″ x 5 1/2″ strips for inner top band
Neon Fabric
2- 3″ x 5 1/2″ for lining
1- 1 1/4″ x 12″ strip for your cording
Let’s start sewing!
Cording:
First make your cording. (You’ll use your zipper foot for this. See this tutorial from Brittany at Pretty Handy Girl for cording.)
Cut your strip in half. It’s a little too long at this point, but we’ll trim off the extra later. Set this aside for a moment while we make your pull tabs.
Pull Tabs:
From your neon fabric, cut out 4 of your desired pull tab shape. Triangles, Rectangles, and Half Circles would all be good options.
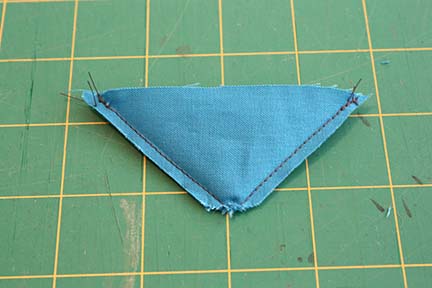
Place two of the pieces right sides together and sew the tab, leaving the straight edge open.
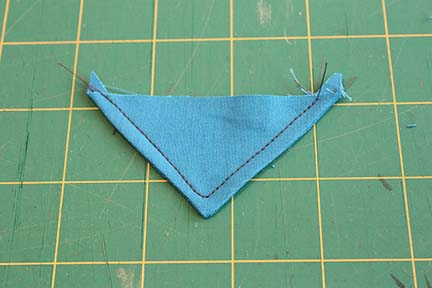
Clip your corners, turn right sides out, and top stitch the edge of the pull tab.
Construct the Exterior:
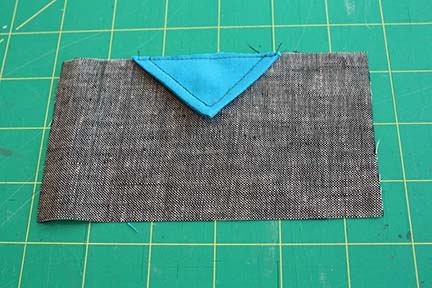
Place your exterior rectangle right sides up on your work table.
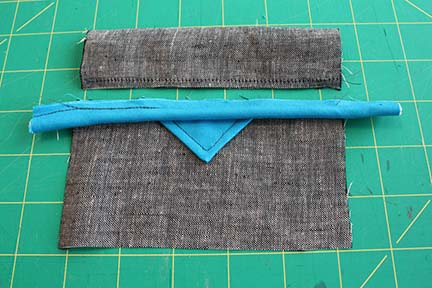
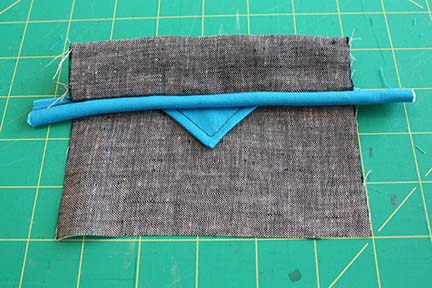
Center the top of the tab along the top of your exterior base piece. Baste it in place a scant 1/4″.
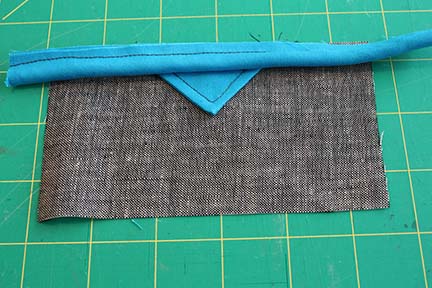
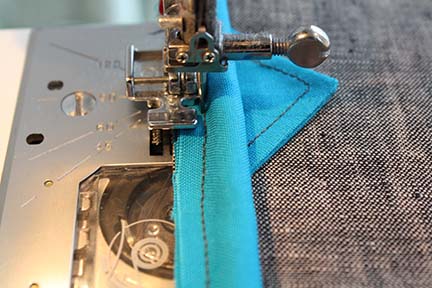
Place your cording with the flange of the cording lined up along the top of this piece.
Baste this to your base piece, using the stitching line you used to make the cording as your stitching line. You should be sewing directly over top of this line. I used my zipper foot and moved my needle over as far as it would go to easily sew along this line.
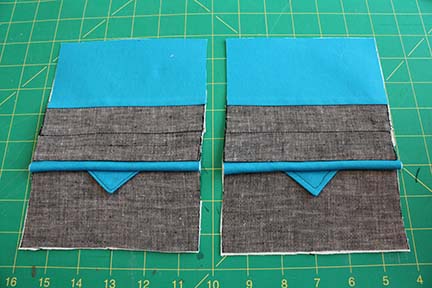
Fold your Top Band Piece in half, then line this up along the edge of the top, placing it over your cording and tab.
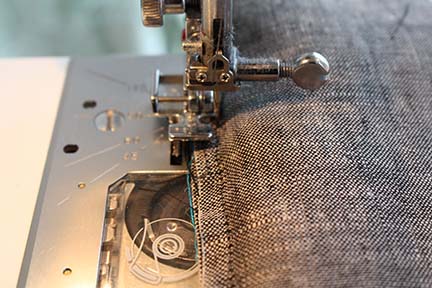
Pin, then flip this over and use your basting stitching line as a guide as you stitch the band to your base piece.
Repeat this process for the back side of your pouch and set these pieces aside for a few minutes.
Construct the Lining:
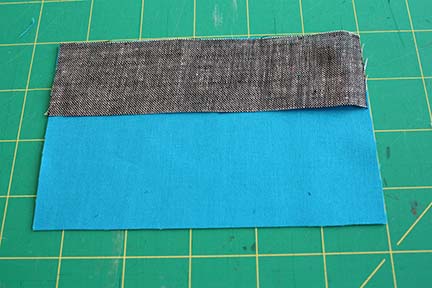
Place your lining face up and your interior band face down and stitch along the top using a 1/4″ seam.
Repeat for your other lining piece.
Attach Lining and Exterior:
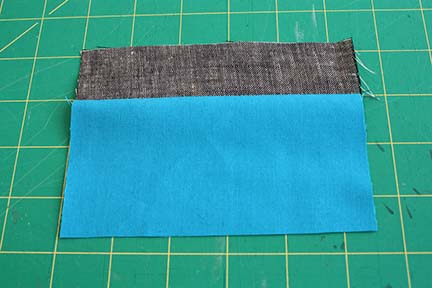
Place one lining piece right side up and one exterior piece right side down on top of the lining piece. Attach the top band of your lining to the top band of your exterior. This will be the folded top of your exterior piece too. (You will be sewing through two layers of the exterior band and one layer of the interior band.)
When sewn and unfolded it will look like the picture above. From the back side, press all seams towards the lining. Repeat for your other interior and exterior piece.
Apply Interfacing:
Apply Pellon SF101 (or another lightweight interfacing) to the wrong side of both pieces with a hot iron.
Prepare your Measuring Tape Pieces:
Cut two pieces 4 3/4″ long. Round the edges and set aside. (I used regular scissors for cutting mine and they worked just fine. If you are worried, try scissors made especially for metal.)
Sew it all Together:
You can trim off your extra cording at this point!
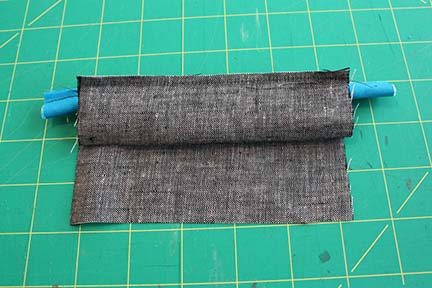
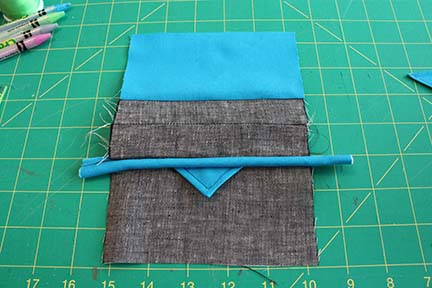
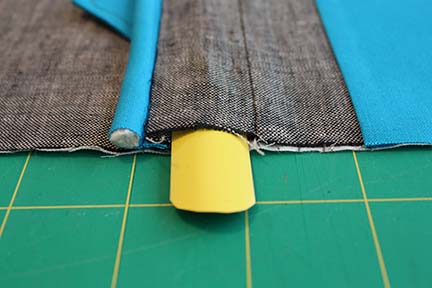
Slide one piece of measuring tape inside the little casing we made by folding over the exterior band piece. You’ll want the marks on the measuring tape to be facing the back of your piece.
See how I slid it into the channel just above my cording? Do the same with your other piece.
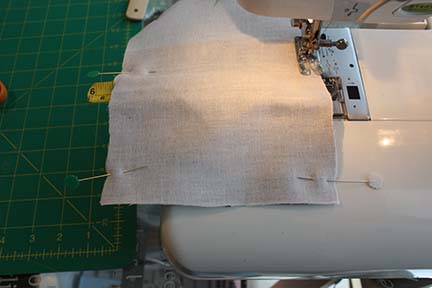
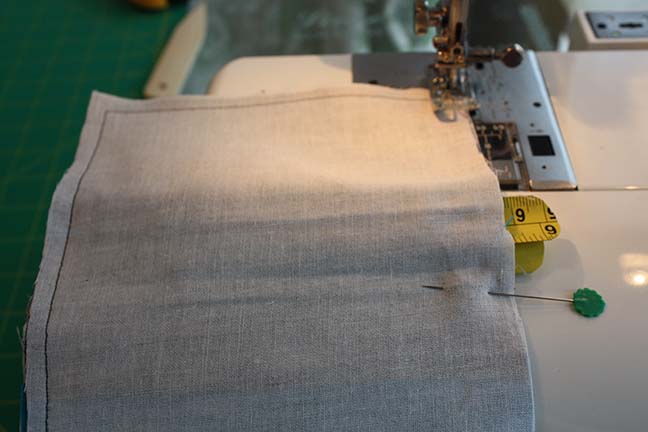
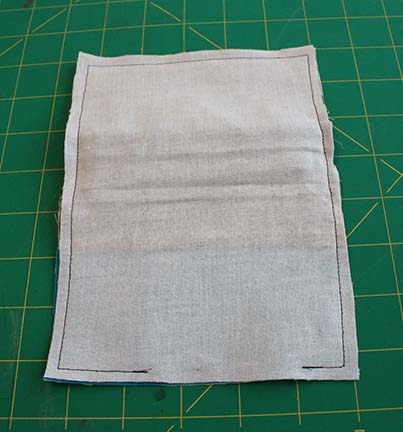
Place your two pieces right sides together and pin. We’re going to sew a 1/4″ seam around this entire piece, leaving a small 3″ opening in the bottom of the lining. When sewing the first side, slide the measuring tape out the opposite side so you don’t sew through it. I definitely don’t want you breaking a needle because of me!
When you get around to the other side be sure to slide in the measuring tape pieces all the way! If you’re worried about hitting the metal tape pieces on this edge, use your hand wheel on your machine to walk the needle past that point. That way if the measuring tape isn’t in far enough you’ll be able to feel the needle hitting it before it breaks!
Clip your corners, and turn right side out!
Finish it Up:
Once turned right side out, press the opening in your lining shut.
Edge stitch the opening, closing it up completely.
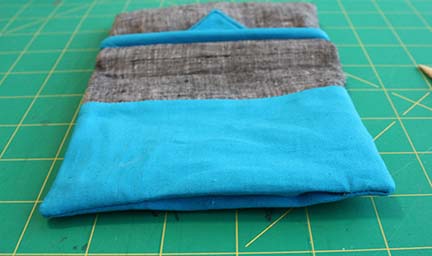
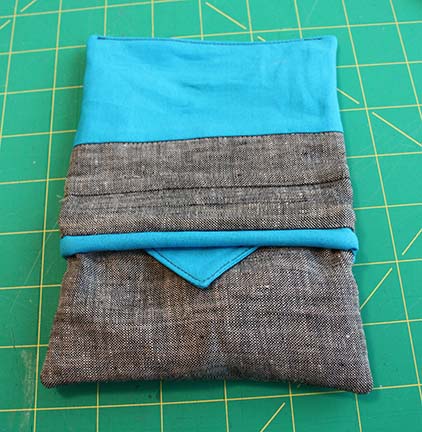
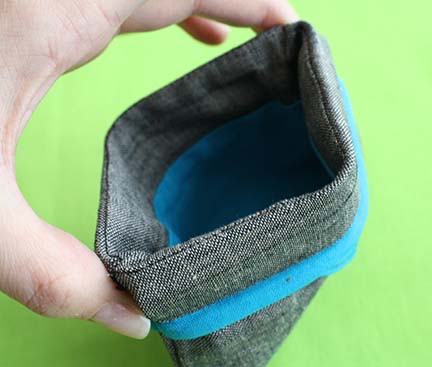
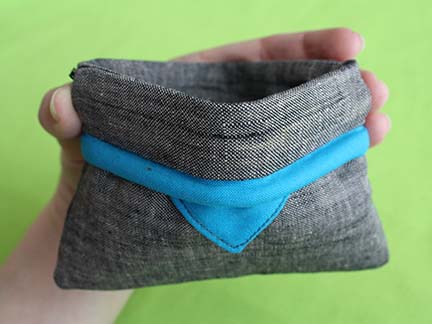
Slide the lining down inside the pouch and you’re done! Give the sides a pinch and open up your pouch!
Or use the cute little pull tabs to open it up, either way is fun! Can you believe that a measuring tape will do that?
You’re finished! Now I just need to decide which color to use on my next one!
Happy Sewing,
Erin



Ah so fun! Now where is a tape measure I can hack up. :)Love the triangle detail.
Wow, I love it! And I never would have guessed to use measuring tapes. Thanks for linking back to my piping tutorial ;-).
I had no idea measure tape could do that. Very cool tut.
Sorry, this didn’t work at all. Looked cute, the tape measure clicks open as described, but it doesn’t close tight enough to keep the change in :( Will have to take it apart and put in a zipper
Sorry to hear that Colleen! I haven’t had any problems, but did notice that not all measuring tapes are made equal. Some seem to be more thick and sturdy than others… Maybe this has something to do with that.