Though I used fabric for this project, no sewing is required!
Here’s what you’ll need to make your own star banner:
1 package Heat N Bond (I used Heavy, but Lite will work too.)
White fabric
Ribbon (Cut out the length you’d like to have, plus 24″ extra to allow room on both ends to tie.)
Iron
Fabric Scissors
Star template (Click link to download.)
Decide how long you’d like your completed banner to be. *Warning: A smidgen of math is required. You’ll place stars approximately every 6″, so if you want a 5′ banner, you’ll need 10 completed stars. Since each completed star takes two shapes you’ll need to cut out 20 stars. (Basically each foot of your banner needs 4 star shapes to make 2 completed stars.)
Print the star template and trace as many as you need onto the paper side of your Heat N Bond. Following the instructions on the package, iron the Heat N Bond onto the back of your white fabric. Using sharp scissors, cut out the star shapes and peel off the paper backing.
Now it’s time to iron it all together!
Grab your length of ribbon and all your star shapes and head to the ironing board. (Have I told you that I don’t ever use my ironing board for clothing? It has a permanent spot in my craft room!)
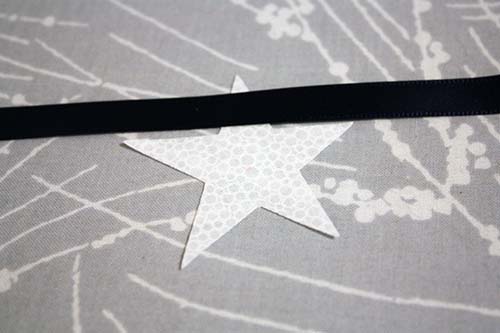
Measure in 12″ from one end of your ribbon. This is where you’ll start attaching your stars. Lay one star shape right side down. Lay the ribbon on top.
Place another star shape on top. Your ribbon will now be sandwiched between the two star shapes. Both of the Heat N Bond (Plasticky sides) should be facing each other with the ribbon in the middle. Use the iron to press the two together. The stars will stick to one another and hold your ribbon in between them. Continue ironing star shapes onto your ribbon about every 6″. Make sure you leave about 12″ on the other end for tying/hanging your banner up.
Smile and figure out where you want to hang your patriotic star banner!
Happy Crafting,
Erin


