Happy Groundhog Day!! I’m hoping that spring will shortly be here, although so far the Chicago winter hasn’t seemed that bad!
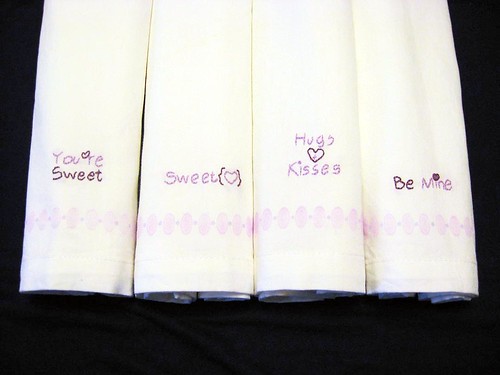
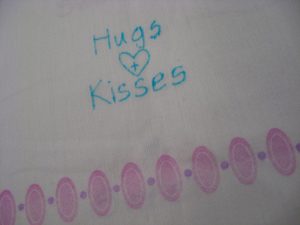
Guess what? It’s Tutorial Tuesday time! I did some super cute, and super easy napkins…just in time for Valentine’s Day!
Supplies:
Build A Border stamp set
4 blank cotton napkins
Violet Permanent Ink (I used the ColorBox pigment inks)
Coordinating skeins of embroidery floss- 1 Dark and 1 Medium/Light Violet
Water Soluble Fabric Marking Pen
FREE Embroidery Pattern
Ready to get going?
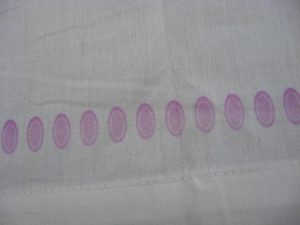
Stamp the large oval border with your lighter ink about 1 ½” above the hem line.
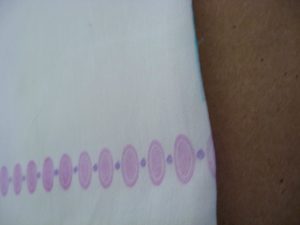
Stamp the dotted line border with the darker ink.
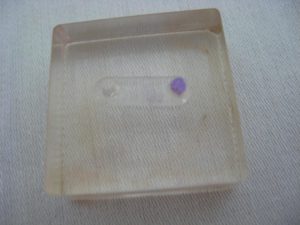
(If you need another dot to finish off the end of the row just put the smaller stamp with 2 dots on your block but only ink one of them and you’re good to go to finish off your border!)
Turn your iron to the cotton setting and iron the stamped image to heat set it and make it permanent.
Trace the images onto your napkin in the middle about 2” above the border you’ve stamped.
Using 3 strands of the embroidery floss, trace the image with a back stitch. Follow the printable pattern for your colors.
When you’re finished (which shouldn’t take more than watching one movie) rinse off the water soluble ink, let air dry, and iron one more time! You’re finished!
