Wow, it’s been a while. I’ve been so busy with my job at CityCraft that I’ve been horrible at documenting what I’ve been doing here! Last year was a crazy year in oh so many ways! Can’t wait to start sharing some more projects with you though! I’ve already got Tutorial Tuesdays planned for all of January and couldn’t be more excited!
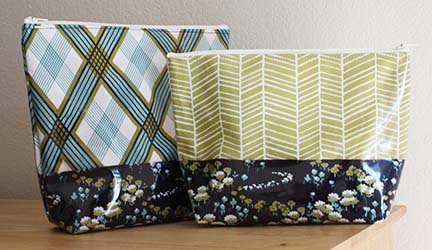
First up for January is a vinyl covered zippered pouch. This project came about because I wanted to laminate some cute fabrics that aren’t available in oilcloth or laminated cotton. (There is an iron on vinyl product but I tried it and really didn’t like how it turned out!) So this is my fix! Hope you like it!
Gather the Following:
1/4″ Wonder Tape
(1) 14″ or longer coordinating zipper
Small binder clips (We’ll use these instead of pins.)
Cut the following for the Large Bag (Finished size is: 10″H x 9″W):
(2) 11″ x 4 3/4″ rectangles for top part of bag
(2) 11″ x 6 3/4″ rectangles for bottom of bag
(2) 11″ squares Pellon SF101 Woven Interfacing
(2) 11″ squares 12 gauge clear vinyl
Cut the following for the Medium Bag (Finished size is: 7″H x 9″W):
(2) 11″ x 4 3/4″ rectangles for top part of bag
(2) 11″ x 4 3/4″ rectangles for bottom of bag
(2) 11″ x 9″ rectangles of Pellon SF101 Woven Interfacing
(2) 11″ x 9″ rectangles of 12 gauge clear vinyl
Notes:
Follow these instructions for either sized bag. (The pictures in the tutorial are for the Large Bag but the Medium bag will look the same and be sewn up the exact same way!)
Sewing Machine Settings: For sewing with this thicker vinyl I used a size 16 needle and set my stitch length to a 3. Your machine shouldn’t have a problem sewing through everything with the right needle and stitch length.
Step 1: Making the front and back
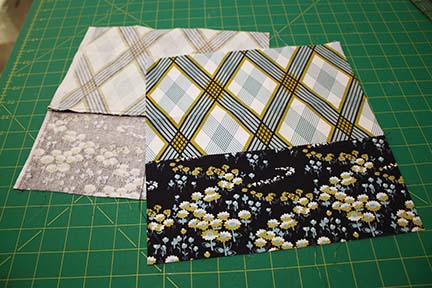
Attach rectangles. Use a 1/4″ seam and attach one smaller rectangle to one long end of the larger rectangle. After sewing, press seams towards the bottom piece.
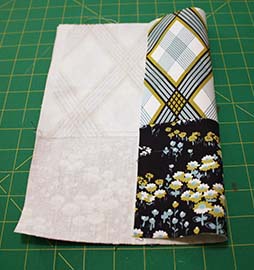
Using a hot iron, press your 11″ square piece of woven interfacing to the back of the front piece. Repeat for the back piece.
Step 2: Attach Vinyl
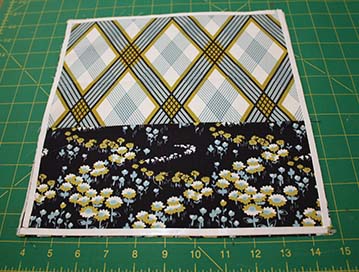
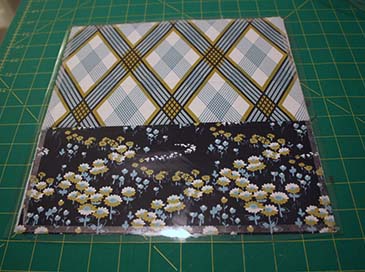
Using your Wonder Tape, attach the vinyl to the front of your fabric piece. Tape as close to the edge as possible. This will be our way of basting the vinyl to the fabric as we sew it up. (We can’t pin the vinyl because any holes from the pins will be stuck in there permanently.)
Once you have your tape on, peel off the tape backing and attach your vinyl to the front, making sure it’s adhered around all the edges.
Step 3: Attach our Zipper
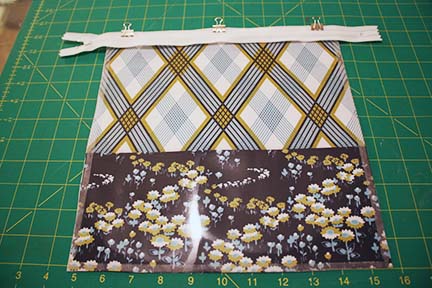
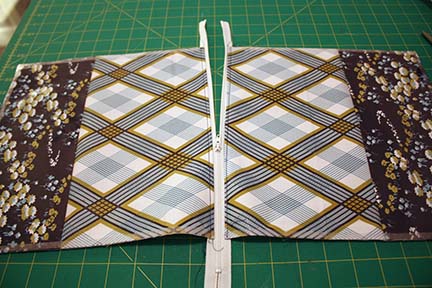
Don’t sweat! It’s easy, I promise!! See how my zipper is longer than the top? It’ll make it easier to sew because our zipper pull won’t get in the way. We’ll trim it off when we’re done.
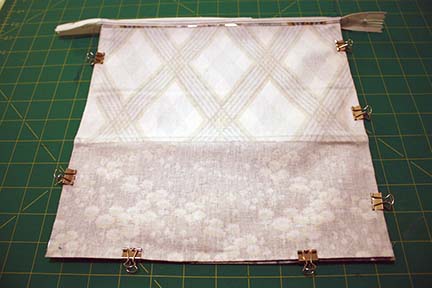
Clip it to the top with the right side of the zipper facing the right side of the fabric.
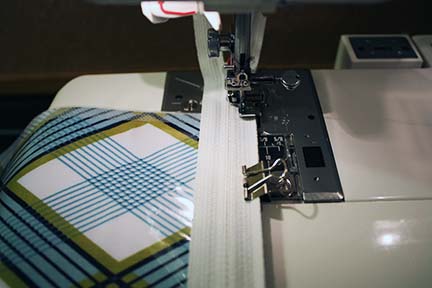
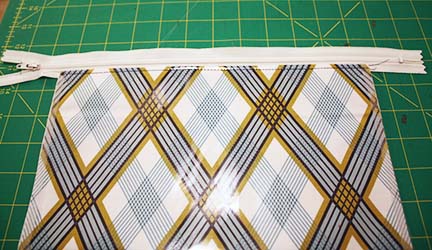
Stitch down the side using your zipper foot.
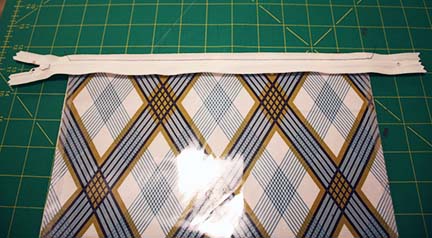
It should look like the picture above when you’ve sewn on one side of the zipper. (Sorry about the glare…the vinyl can be a bit shiny!)
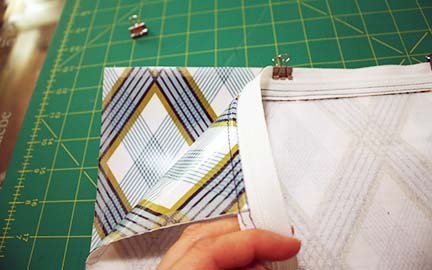
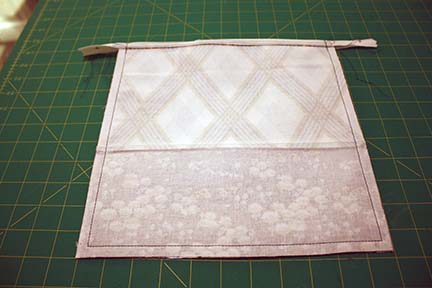
Unfold the zipper, finger press the vinyl down and topstitch along the edge.
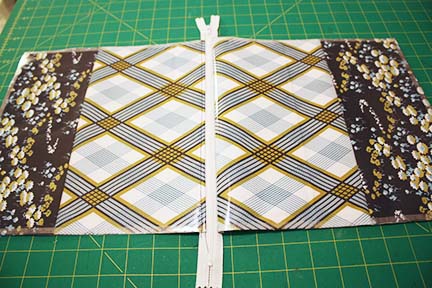
Now take the piece with the zipper attached to it. Turn it right side down, facing the other piece of your bag. Line up the top of the zipper with the top of this piece. Clip in place and sew the same way we did the first piece.
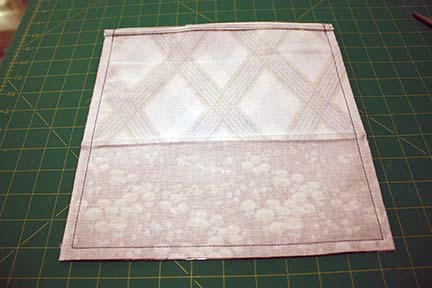
Unfold and finger press the other side open.
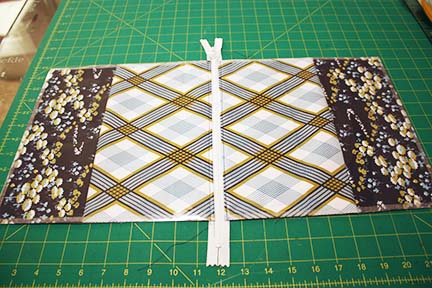
Topstitch along this edge. (Congratulations on your zipper!!)
Step 4: Sew it Up
Unzip the zipper half way. Unzip the zipper half way. Before you clip the sides and bottom, please make sure that the zipper is half way undone. :) Yep, I know that I included that instruction a few times. It’s because I don’t want you to curse me later when you realize that you’ve sewn your bag shut because you didn’t leave the zipper half way open to turn it right side out when it’s time!
Clip and sew around the sides and the bottom. Use a 3/8″ seam. This way the Wonder Tape will be all the way in your seam and won’t show from the outside when we’re done.
Remember your long zipper? You can trim it off the extra pieces handing off the side now!
Step 5: Gusset the bottom
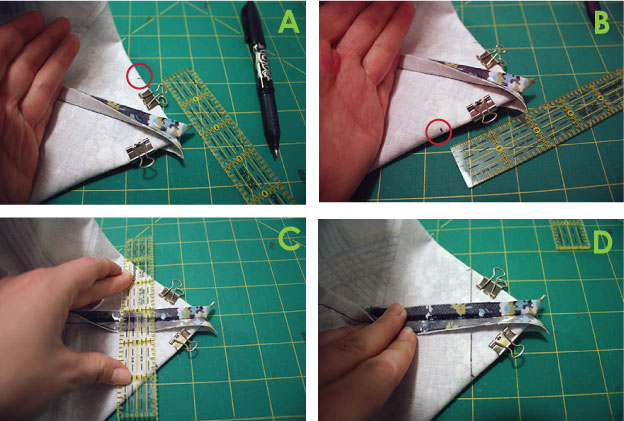
To make the bottom we’ll need to make a gusset on each corner of the bag. With the bag unzipped all the way and turned inside out, squish the corners down so that the side seam and bottom seam are lined up. You may have to look inside the bag at the corner to make sure the seams are lined up.
Clip each side once you have it in place. (A & B) From the corner, use a ruler and measure 2″ up both sides and mark it with a fine tipped pin or fabric marking tool. (You can see my little black marks inside the red circles.)
(C & D) After you have each mark, use your ruler or another straight edge to connect the two lines. Repeat this process on the other corner.
(E) This line will be your stitching line. Stitch directly on the line. Don’t forget to backstitch at either end! Once you’re done stitching, trim off all your extra threads. (F) Then clip off the corners. Turn right sides out and have a look at your finished bag!
I use these all over my house. They make great storage containers, reusable gift wrapping for birthday gifts, and storage for cosmetics in the bathroom! If you make one, be sure to let me know in the comments! I’d love to see it!
Happy Crafting,
Erin

This is really cool! Thanks Erin!
Fantastic article, I found it very helpful. Perhaps you have heard about fixazipper.org? They have plenty of free tutorials on zipper repair, the majority of them contain videos also. I have repaired several zippers on my kid’s clothing using their free videos, you should check them out.
Hi Erin, I enjoyed your instructions for the vinyl pouch. I haven”t came across to many sewing artists that used vinyl in their projects, which is great to know. Thank you for sharing. Happy Holidays!